Cross Stitch Embroidery Instructions – AVA Stitch
- Before Starting
- Check the kit contents: fabric, threads, needle(s), and pattern (paper and/or digital).
- If the kit includes a QR code, scan it to download the digital pattern (.PDF, .SAGA, .DIZE).
-
CRUCIAL – Follow the pattern’s key (legend).
The legend specifies for each symbol/color: the number of strands (2, 3, 1 for outlines), any special stitches (half stitch, backstitch, French knots, etc.), and additional notes.
If the quick table below differs from the legend, always follow the legend. - Wash your hands before handling the fabric and leave a 5–7 cm margin around the edges for framing.
- Preparing and Centering the Fabric
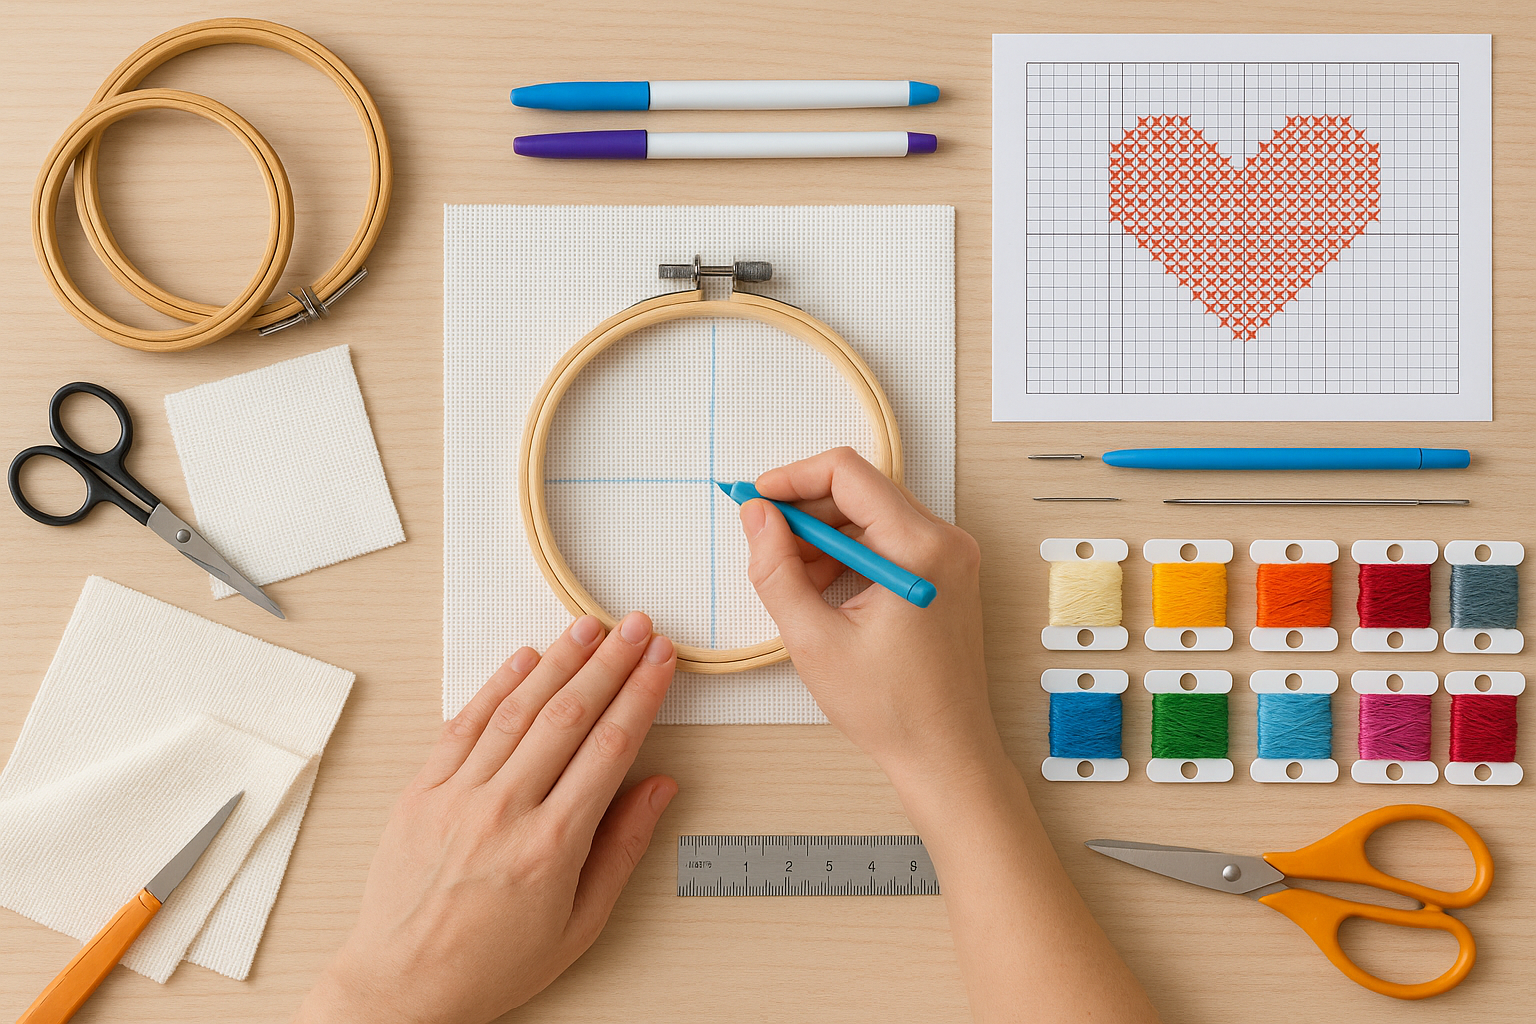
- Fold the fabric in a cross (horizontally and vertically) to mark the center.
- Locate the center of the pattern (arrows) and align it with the fabric’s center.
- Optional: Overcast the edges or use washi tape to prevent fraying.
- Mounting in the Hoop
- Place the fabric in the hoop without overstretching it.
Excessive tension can distort the weave.
- Starting to Stitch
- Recommended: Begin from the center and work in sections.
(You can also start from a corner if you’re confident with grid counting.) - No knots. To secure the thread:
- Classic method: Pass the tail under 3–4 stitches on the reverse side.
- Loop method (with 2 strands): Fold a long strand, pass the folded end through the first hole, and hook it with the loop on the reverse side.
- Number of Strands by Fabric Type (Quick Table)
- Note: If the legend specifies otherwise, the legend takes precedence.
- Aida 18 / 16 → 2 strands
- Aida 14 → 3 strands
- Outline (backstitch) → 1, 2, or 3 strands
- Half stitch → Stitch only the lower half of the stitch
- Other special stitches (if shown in the pattern) → Follow the exact legend instructions
- Stitch Direction and Order
- Maintain the same direction for a uniform appearance:
- Base stitch: From bottom-left to top-right.
- Top stitch: From bottom-right to top-left.
- Work in color blocks: First stitch all base stitches in a line/section, then add the top stitches.
- Tension: Do not pull the thread too tight to avoid puckering the fabric.
- Thread Changes and Securing
- To change colors, secure the thread on the reverse side by passing it under stitches of the same color; avoid knots.
- If the color is very dark next to light areas, secure and cut the thread before crossing long distances on the reverse side (to prevent it from showing through on the front).
- Washing and Finishing
- After completion, soak for 2–3 minutes in cold or room-temperature water, without rubbing.
- Rinse carefully and dry flat on a towel. Do not wring the fabric (it may deform).
- Iron on the reverse side with a cloth on top, using low heat. Avoid prolonged sun exposure.

0 comments